How to Make Henna Cones: Roll, Fill and Test the Flow
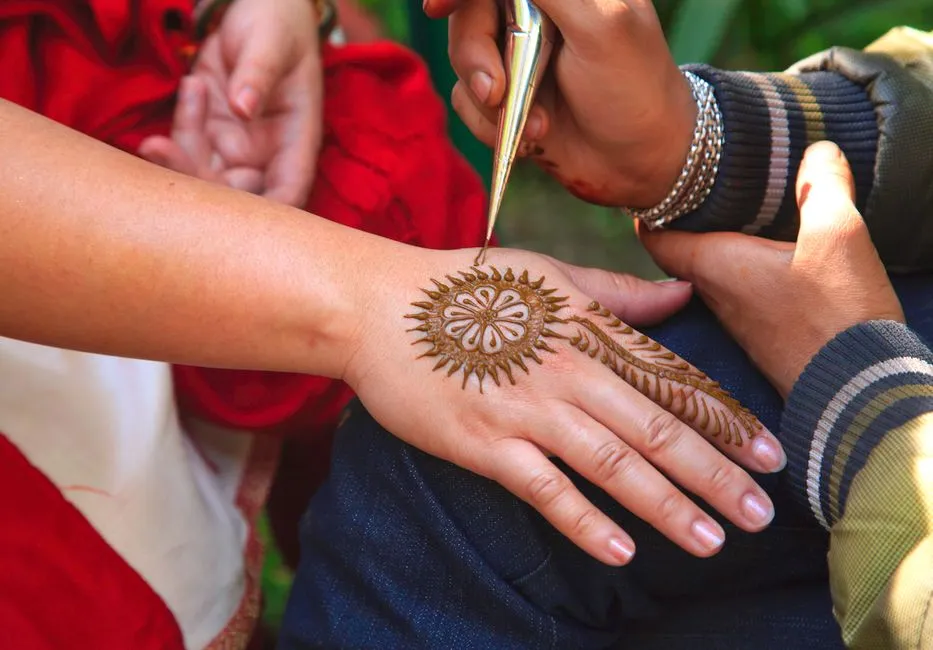
- How do you make a henna cone?
- What should you know before filling a cone?
- What materials do you need?
- How do you roll the empty cone?
- How full should the cone be?
- How do you close the top and open the tip?
- How can you test the cone without practising on skin?
- What do leaks and broken lines tell you?
- How should you label and store filled cones?
- Sources
How do you make a henna cone?
To make a henna cone, roll a sheet of suitable cone film into a narrow funnel, tighten the point and tape the outer seam. Add a modest amount of prepared material, fold and secure the top, then open the tip gradually. Test the flow on a non-skin practice surface before deciding whether the opening or cone shape needs adjustment.
Start with empty cones. Rolling is a skill of its own; it is easier to learn when you are not also trying to keep paste off the table.
This guide covers applicator construction and non-skin practice. It does not provide a henna recipe or establish that a paste is suitable for skin. The technique is desk-researched from practitioners' instructions, not a claim that we tested particular films or tapes.
What should you know before filling a cone?
Do not use black henna, suspected p-phenylenediamine (PPD), hair dye or unidentified paste. PPD-containing products applied to skin can cause serious allergic reactions. A home spot test does not clear these products for use; do not scratch skin to test them.
In the United States, FDA states that henna is approved only as a hair dye, not for direct skin application. FDA also says PPD is not permitted in cosmetics intended for application to skin. Check local requirements and the product's lawful labelled use; making your own applicator changes neither.
For material screening, read our powder-versus-ready-made-cone guide. Keep the ingredient list, batch identity and storage directions with any material you handle.
What materials do you need?
Set out:
- Clean, unprinted cone film sold for the intended material, preferably pre-cut into matching triangles.
- Tape that the supplier specifies as compatible with the film and contents.
- Clean scissors.
- A clean, stable holder for filling.
- A suitable filling bag if you will fill several cones.
- Labels and a non-skin practice surface compatible with the contents.
Do not assume decorative gift wrap or a reused food wrapper is suitable merely because it rolls. Film thickness, flexibility and compatibility are things to confirm with the supplier, not infer from a shiny finish.
Pre-cut sheets remove one variable while you learn. Keep their dimensions and supplier details in your notes; there is no need to choose a supposedly universal cone size before finding a grip that suits you.
If you would rather compare purchased formats, our mehndi applicator guide covers cones, squeeze bottles and metal tips.
How do you roll the empty cone?
The following is a short version of the triangular-sheet method in Beachcombers' cone-rolling instructions:
- Lay the triangle with its longest edge nearest you.
- Hold the middle of that edge with one finger; this becomes the point.
- Bring one end of the long edge inward and curl the sheet around, forming a funnel.
- Continue rolling so the remaining film overlaps the first layer.
- Support the open end while gently adjusting the overlap until the point is tightly closed.
- Tape the loose outer edge without covering the point.
If it collapses into a flat fold, open it and try the curve again. You are rolling a funnel, not folding an envelope.
Before filling, inspect the cone against the light. Look for an obvious open seam, a torn corner or a blunt folded tip. Remaking an empty cone is simpler than repairing a filled one.
How full should the cone be?
Leave enough empty film above the contents to make a secure closure. A cone filled to the rim has no useful folding allowance.
Henna Caravan's filling tutorial uses a larger triangular filling bag, often called a carrot bag, and supports the smaller cones upright in a tall glass. It advises filling between one-half and three-quarters of the cone and keeping the upper sides clean.
For a first attempt, use the lower end of that range: half full. This is our beginner setup choice, not a measured capacity claim.
Guide the filling bag into the centre and add material steadily. Keep it off the area that must fold and stick. Do not force the filling nozzle against the cone's closed point.
One cone's half-full volume is not another cone's measured weight. If you need repeatable batch quantities, weigh them using the same empty-cone tare rather than guessing from the height of the filling.
How do you close the top and open the tip?
Fold the empty upper corners inward, then roll the remaining top down and secure it with tape. Keep the closure above the contents.
A closed-tip cone can be opened after filling; Aroosa's cone-making tutorial demonstrates this sequence for craft application. Her separate acrylic-paint guidance distinguishes acrylic craft paint from products intended for skin. Craft-paint practice belongs on suitable objects or surfaces, not bodies.
Put scissors away from fingers and cut a very small amount straight across the point. Inspect the opening and collect the offcut. Do not use teeth or cut while the cone is aimed at a person.
Test before trimming again. Once the opening is too large, further cutting cannot make it smaller. Start a new cone if you need a finer outlet.
How can you test the cone without practising on skin?
Use a suitable non-skin medium and surface according to their instructions. Do not use an unknown henna product as practice material. A craft medium will not necessarily handle exactly like henna; this exercise checks construction and basic control.
Here is an original comparison exercise:
| Test | What to do | What to record |
|---|---|---|
| Start and stop | Make five separate dots | Does material stop when pressure stops? |
| Steady movement | Draw three lines across a marked strip | Is flow continuous or interrupted? |
| Direction change | Draw three simple curves | Does the cone remain comfortable to steer? |
| Seal check | Inspect the outside afterward | Is material escaping at the seam or top? |
Keep the same medium, surface and sheet size for the next cone. Change only one construction choice, such as the amount trimmed from the tip. Otherwise you will not know which change helped.
Label the samples A and B rather than good and bad. A broader line may simply suit a different job.
What do leaks and broken lines tell you?
Treat these as checks, not certain diagnoses:
- Leak at the top: inspect the fold and how much empty film you left.
- Leak along the side: inspect the overlap, film damage and tape adhesion.
- Material exits in bursts: stop and check for trapped air, a blockage or inconsistent pressure.
- Line is wider than wanted: check the opening and your pressure before changing the paste.
- Repeated clogging: review the material's preparation instructions and the outlet, rather than squeezing harder.
Stop using a cone with a damaged seam or distorted point. Do not push a pin or another sharp object through a blockage while holding the cone against skin or pointing it at someone. Remaking the cone is preferable to forcing it.
How should you label and store filled cones?
Follow the actual paste manufacturer's storage and discard directions. Cone film does not create a shelf life, and freezing is not a way to make contaminated or unidentified material acceptable.
Record the contents, batch, filling date and required storage. Keep cones in a labelled secondary container that separates them from food and protects the tips. Do not combine different batches without keeping their identities.
Keep a cone used for craft paint out of any later body-art use. Treat hand-rolled cones as single-use tools; the folds and taped seams are not a validated cleaning system.
For redness, itching, blisters, swelling or pain after henna exposure, stop using the product and seek medical advice. Health Canada warns that PPD reactions can occur after previous exposure caused no reaction. Keep the packaging for the clinician. Breathing difficulty or collapse requires emergency help.
Once the construction works, make a small repeatable batch of empty cones. Consistency is a useful achievement: fewer surprises from the tool, more attention available for the line.